Tuesday, 4 April 2017

MULTI SCREEN MOVING IMAGE PORTRAITS (PROGRESSION)


After experimenting with the skills I have learned through the After Effects workshops, I created the look I wanted from my original multi screen idea. My idea is to have two screens of either me or someone else, and mask out their stomach on one screen, and mask out their face on the other. After this I will film clips I want to play through the face and stomach to create how I feel whilst being on my phone. This links with the brief by demonstrating my connection with the digital world. Below are some photos of how I explored this today. It is in the early stages so I haven't filmed anything so all the footage I used was previous work of mine.


As you can see, I imported an image into my new composite and create a circle mask using the shape tool, I then subtracted the mask so the image remained and the mask got rid of the photo. This then allowed me to import a video file and place it in the background, where it was visible through the mask I had just created. Of course this is still early days so isn't as precise as I would want it to be, this is just experimentation.


As for these images I did the same as the top image but created the mask lower, as I don't have a picture with someone's stomach in shot I just used the same image and moved the mask to demonstrate my thought process. However, when I do film my footage I shall ensure that I frame the screens to how I want so I can have the stomach in shot. 

The two screens will link by showing me do similar things but displaying through my head and my stomach how I feel. I find being on the phone weather it is texting or ringing someone quite stressful and makes me very anxious as I don't want to speak to people quite often, I like to be alone sometimes. So showing me text, with what is going on in my head on the screen, and showing me on the phone with what I feel in my stomach is a visual way of me trying to explain the anxiety I feel with digital technology and the digital world. I have chosen to do this subject as a creative way to express my frustration I have with my anxiety, and possibly choosing to express it in a creative way may ease some of the tension I feel. 

I hope you enjoy. Thank you. 

Monday, 3 April 2017

DISPOSABLE CAMERA REVIEW


When doing my portrait series I came across some photographers that I was inspired by, and came to realise that they had used film photography instead of digital. I wrote a blog post explaining how I didn't feel comfortable shooting in film and much prefer digital as I can review the photo on the spot. However, I decided to challenge myself and bought a disposable camera and use it whenever I felt like instead of under pressure to make the experience more fun for myself. I just took the little camera around with me, and instead of reaching for my phone to capture a moment I used the film camera. Overall I feel ok with the photos, I'm not all that pleased with some of them as they are too under exposed or I have taken the photo too close to it just looked washed out. But, this is a learning process so I should be patient with my results. Below are some of my photos from one roll of film:


Suburbia

Lakeside

Demolition

Sunset

Slot machine

Greenery

Botanist boy

Gift shop

Harbour walk

Torquay 

Good morning

Pancakes

Danielle

Cluster

Shake shack

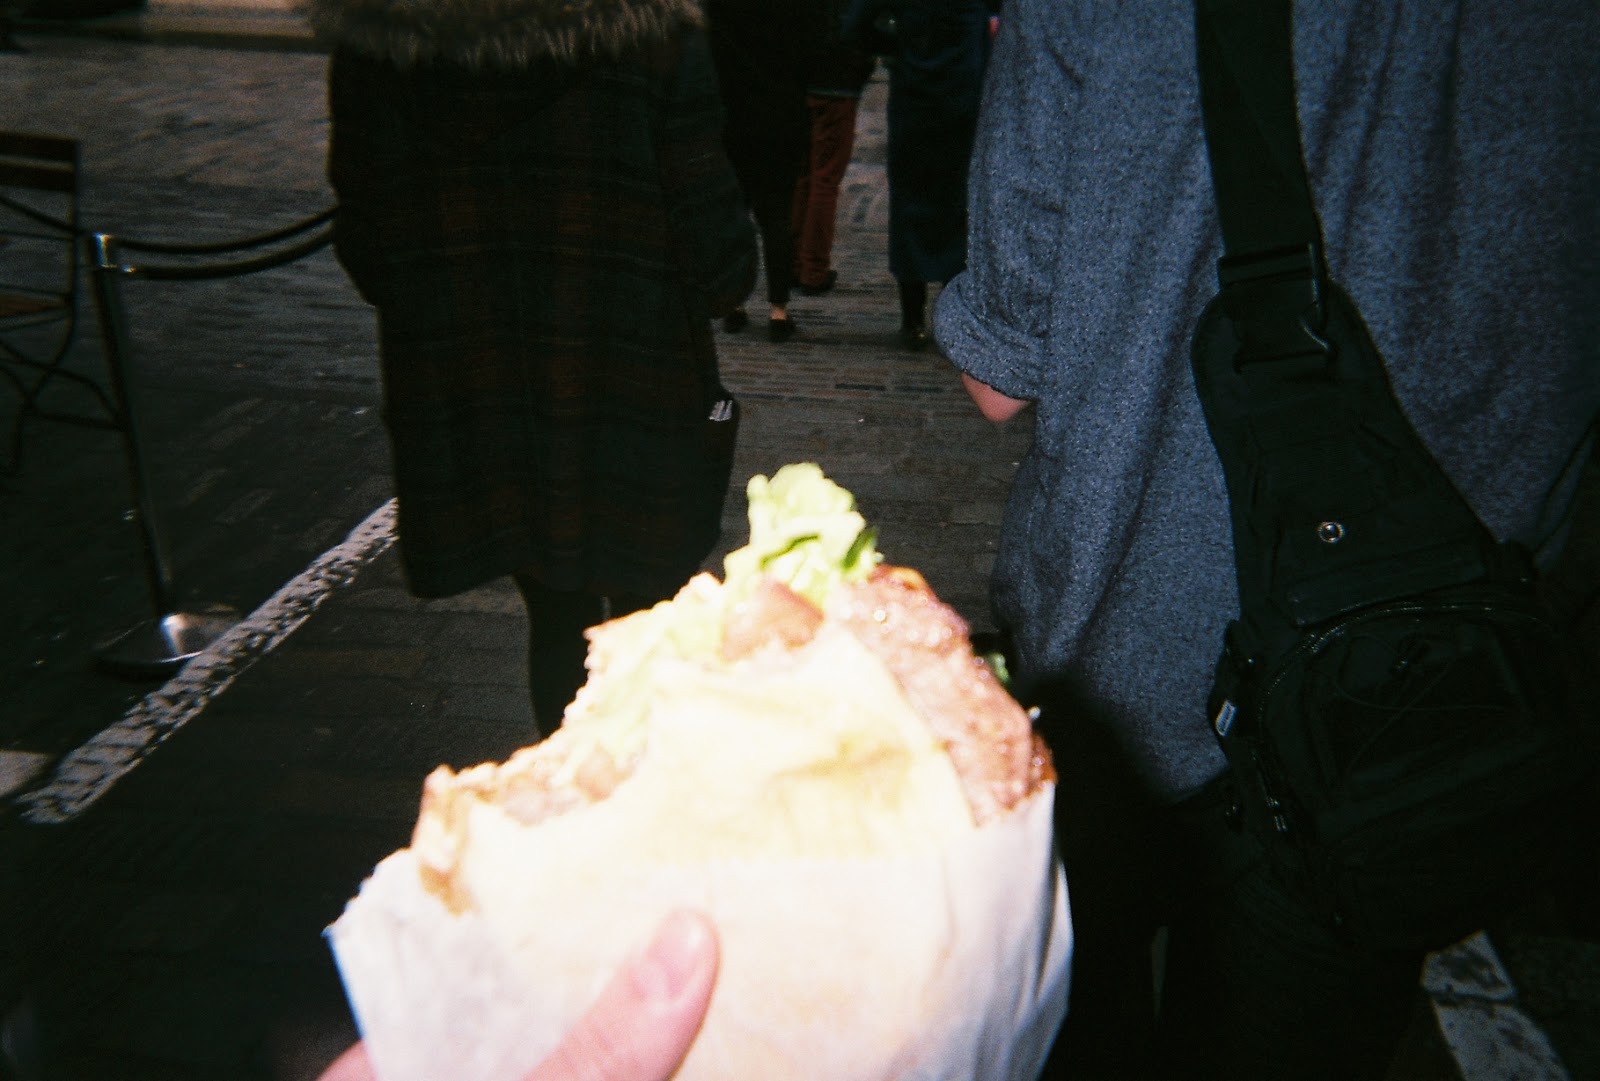
Like I said, overall I feel ok with the photos. I don't feel particularly sad or happy about them as they are a mixed bunch of photos. However, I have noticed what has worked in the ones that are well exposed and shot as suppose to the under exposed ones. 'Cluster' is probably one of the nicest photos as I remember having the sun behind me on a sunny day, with my friends just the right amount of distance from me. The film camera roughly estimates the ISO to be at 400, which I tried to factor in when taking my photos weather flash would be beneficial or not. I noticed that 'Sunset' and 'Demolition' came out quite well, the colours are still saturated and am surprised the camera picked them up from the sky. One of my favourites from the bunch is definitely 'Slot machine' another photography fear or mine is using neon lights in my work, even though I am so drawn to and mesmerised by them, but I love how this had turned out as I feel it has got the arcade lights just right. The photos that I felt didn't go well were 'Pancakes' and 'Shake shack' and I reckon (I'm no expert though) that it is because the items (food) I was taking photos of were too close to the camera and the flash, therefore just washed the image out completely, losing any colour from what I wanted to capture which is a shame but it happens. Overall though I think it was a good thing for me to experiment with in my own time as it took away the pressure for the photos to be perfect. I would try this process again in the future as I feel I have learned what works and why and what doesn't work and why which is the most important part of this experiment. 

I hope you enjoy. Thank you


EXPERIMENTAL FILM - EDITING PROCESS II


After getting all of our rushes and audio sorted and exported we opened After Effects ready to glitch. As myself and Danielle are quite new to After Effects we watched a couple of tutorials on how to achieve a glitch effect that we liked. We found a video that we liked the glitches of and it showed us how to do lots of different glitches so we set about following the tutorial. The tutorial involved us creating and using lots of different effects such as:

1. CC Griddler
2. Mask layers
3. Hue
4. Saturation
5. Curves
6. Fractal noise

These were some of the effects we used. This far we have 11 layers but we want to create a few more effects so we estimate to have between 15-20 layers in the composite. involved in this tutorial were some equations to distort certain values in some of the equations. In the picture below you can see us manipulating the values with equations that we wrote. This creates the effects that we want.


We also wanted to create different glitches across the film instead of the same one continuously, so we duplicated the layers with the glitch on, and experimented with the hue and saturation to create a red glitch. We really liked the look of this, but it was too extreme for the entire film, so we decided to place the read glitch over the archive footage and the title sequence. Below are some screenshots of the red glitch we created:

Title sequence

Archive footage

We are still in the process of creating the glitches and making sure they run smoothly. This was in no way an easy process and took a lot of time to create the glitches we wanted but I am proud of what we have done so far, and glad we have pushed ourselves to create what I hope will be a great film. 

I hope enjoy. Thank you. 


EXPERIMENTAL FILM - EDITING PROCESS


After collecting all the rushes we needed for our film, we then moved on to the editing process. we knew this was where our film would really come together as lots of the film relies on post production visuals. Some challenges we would face were the use of three different softwares, but so far this hasn't seemed much of a challenge. Calling on my skills from Audition I created a soundtrack to enhance and fit our film to create an atmosphere. I used the sound of Dial up internet, the notification sound from MSN and a few other sounds. When I felt happy with the track i showed Danielle to make sure she was happy with it too, luckily she was. So then came editing day 1.


Firstly, I put all of our rushes into the same folder to make sure the project file could find them all. Then opened a Premier pro project and imported all of the clips. Danielle and I decided to make a list of the order we wanted the film to take so it would speed up the editing process. Once we were happy with our list and order I trimmed down the clips we wanted to use then dragged them onto the timeline. We then had to scale to frame size all the clips and unlink the audio as it is redundant in our film. After this, we then started to cross cut between archive and our own footage and experiment with the video opacity to layer two clips on top of each other. Then we selected which of the robotic voiceover we wanted , and where we wanted them and started placing them on the timeline. As we recorded the robotic voiceover you could hear a lot of background noise, we wanted to make the audio sound as clear as possible so I added exponential fade to each side of the audio clips so I could mask the background noise better. After this we had to adjust the volume levels of the voiceover as she was peaking too much and overriding the soundtrack so we leveled it all out. We were then incredibly happy with the film so we exported it out of Premier Pro into after effects ready to start glitching. 

I hope you enjoy. Thank you.

Monday, 20 March 2017

EXPERIMENTAL FILM - FILM DEVELOPMENT


In the process of filming on day 1, we wanted to try and film the reflection of different websites through someones eyes, using the reflection of the light from the screen to detect what site they were on. We set the room up in darkness, so the only light source was from the TV, to try and capture the reflection at its best. However, this wasn't working as well as we had hoped, and it was hard to recognise the different websites from the reflection in people's eyes. We wanted to still execute this idea but weren't sure how so we started discussing and thinking of other ways. Thankfully Danielle has a projector that we can plug in to a computer so we can project social media, messages, google searches etc onto the persons face so we can get the look we want. We also thought that because we were projecting the websites onto the persons face, that it could be a metaphor for the internal monologue we have, and projecting on the head could symbolise whats going on in our minds, a visual into our thought process. We wanted to hit home that the internet is now literally embedded in our heads and feel this would be a good way to display this. We came up with a list of things we wanted to project over our faces, and here are some of the results:

1. Project social media platforms
2. Search bar on forehead
3. Play glitching videos over persons face
4. Overlay emojis onto persons face
5. Overlay Eviebot onto persons face
6. Screen chat room conversations over persons face
7. Show scrolling down pages online over the persons face
8. Show the search bar for ways to get help
9. Display the dark net
10. Display archive footage


Happy Emoji

Crying Emoji

Crying Emoji 

I need help

Error

With the projector we experimented with using emojis, search engines and error messages to see what the best results would be. Displayed above are some of our best results. After doing this trial of what works with the projector we feel confident that for tomorrows filming day we can get all the filming we want. Some things we tried didn't quite work, but we found a way around them. Like with the search engine we decided to try out google, but it didn't work with lining up on the persons face; So, we decided to use Ask Jeeves, and got the results we wanted.  I look forward to developing this idea even more into one cool film.

I hope you enjoy. Thank you.


EXPERIMENTAL FILM - DAY 1


This week is filming week for the experimental films, Danielle and I had a very clear and concise structure and schedule which has come in our favour. We have scheduled this film to only take two days to film as most of the it is effects in the post production, and all the production footage is archive, and film shot ourselves with a DSLR.

So, this morning we scheduled to meet at ten am this morning to collect a sufficient bank of archive footage we felt was relevant. We wanted to source clips that showed old technology such as old computers and televisions to show how much technology has changed. The first video we came across was Steve Jobs presenting the first Mac computer. We agreed we both liked this as everyone has an association with Apple products, most people own a piece of Apple technology, people will be able to connect with it. 


From this clip, we went on to find an old mobile phone commercial we felt was fitting, and a Gameboy advert that we could use for our archive footage. We then decided to look for Glitch videos for inspiration to get ready for filming. We found so many videos for inspiration, as we liked the abstract shapes, and also the saturation of the colours, so this is something we are drawing inspiration from. Listed below are some links to the videos we got inspired from:


From our initial Digital Materialisation short film, we used an online robot called Eviebot to record what she said. As we liked the robot likeness to her voice and lack of depth and a monotone sound to give a cold sinister feel to the words. However with Eviebot we couldn't get her to say exactly what we wanted, you just had to type things and use chance that she would say something we felt was good to record. Nevertheless, we did some searching and found a website that we could type exactly what we wanted and use some effects on the website to change the pitch, tone, length and gender of the person and their voice. Here is the website listed down below:


Using this website we found a voice, pitch, length and gender we felt was best suited to create the same sinister, cold tone like Eviebot. Using this website was far more effective as we could get the exact results we wanted and didn't have to leave the results to chance, like with Eviebot. We recorded a preview of what the website gave us and the sound we wanted to achieve:


After realising we could get this robot to say exactly what we wanted, we came up with a script of things we think would be best suited for our voice over. listed below is the script we devised:


1.You are being watched
2.Slide to unlock
3.Digital overload is now central to the human condition
4.Our brains are wired
5.You have forgotten where the off button is
6.Are you feeling overwhelmed?
7.Just check the internet for five minutes
8.Control alt delete
9. Escape
10.You cannot escape
11.You have no identity without the internet
12.Who are you without the internet?
13.You’re hiding behind a screen
14.Don’t be afraid we’re all watching you
15.You let the world comment on your existence
16.Hashtag no escape
17.You have a notification…
18.Share your location with me
19.Don’t you trust me?
20.Lol
21.Lmao 
22.Omfg 
23.Fml

We then went on to spend the rest of the day recording the voice over exactly how we wanted ready to cut down and edit in the post production. 

I hope you enjoy. Thank you. 


Tuesday, 14 March 2017

MULTI SCREEN MOVING IMAGE PORTRAITS (AFTER EFFECTS 3)


Today marked the third After Effects work shop and this was definitely my favourite. Today we learned how to rotoscope, use track matts, layers and explore the effects rack. We were asked to chose a cartoon of our choice and use the rotoscope tool in After Effects to select a character to track. You could then isolate them in their own layer and start manipulating. This was interesting as you could isolate a character and import a background and start effecting the background and character to create a new meaning. As our experimental film and twin screen project are fast approaching I decided to use this time to explore what I could do with glitching and creating pixels and heavy manipulation. Pictured below are some if the effects I used:


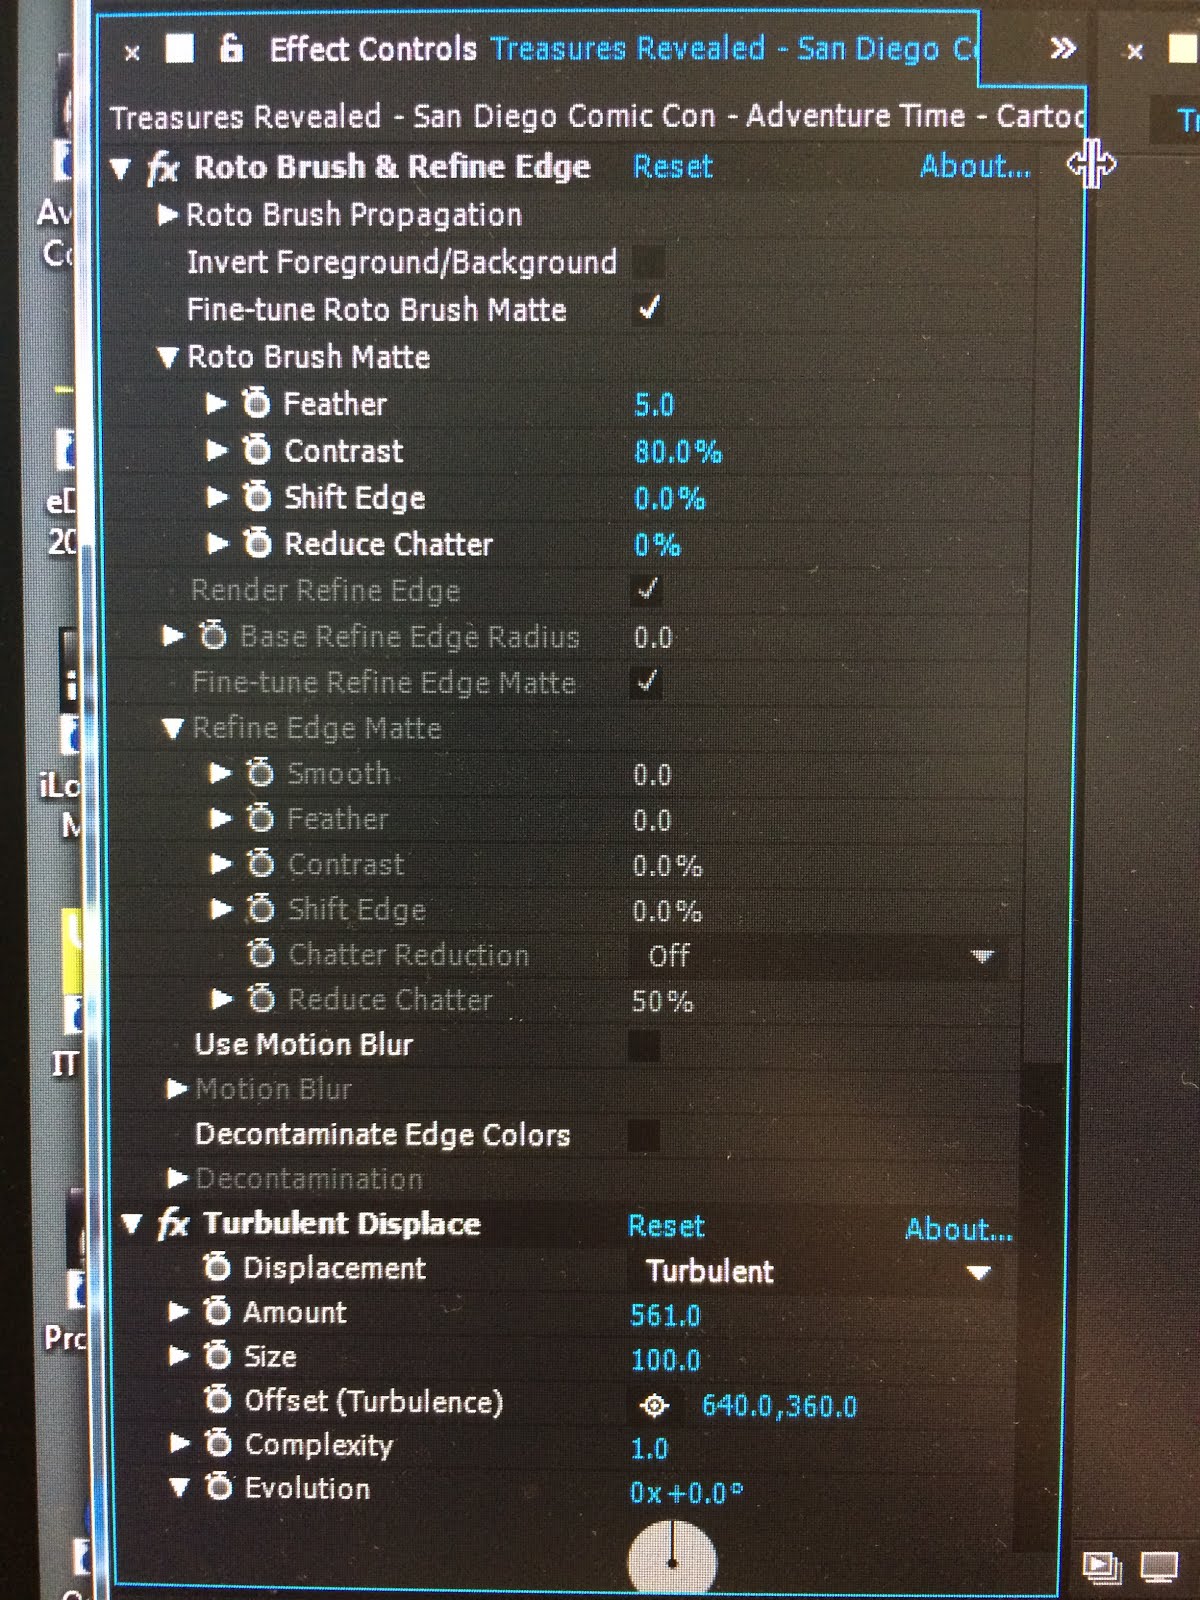
Here I used the Rotoscope tool to select my character and feathered the selection slightly so the edges weren't as harsh. I then used an effect called Turbulent Displace to distort the look of my character so they would appear warped on the screen. To do this you first have to create a duplicate layer so you can overlay the effect and still have the original rotoscoped piece playing. 

In this screenshot you can see I have used Tritones to change the colour of the Turbulent Displace and create a shadow on the original rotoscope of Finn. I manipulated the colours of the highlights, mid tones and shadows so it would create a intense, strange looking shadow. To enhance this piece further I added a Light Burst on the layer and it made my duplicate Finn layer turn into a light burst that follows him around the screen. 

Here is an image of all the effects I was describing in the previous two images. I hope I am making some sense. 

I have been thinking a lot about my twin screen piece and what I can achieve with after effects to make my twin screen look the way I want it to. Something I have been interested in is masking and tracking. I have seen a few short films of blurred out faces to achieve a feel of a digital reality where everyone's faces are just like pixelated emojis. So I aked my tutor how to create this look, and he showed me how to track someones face, and use the Mosaic tool to create pixels.


Here is a screenshot of what I was explaining in the last picture. You can see my Mosaic tool over his face and the square you use to select a place to track.

Here are the short pieces I created today in After Effects using the skills I learned today and applied them to these short films:


AFTER EFFECTS GLITCH MANIPULATION

 
ADVENTURE TIME LAYERED EFFECTS

 
AFTER EFFECTS GLITCH MANIPULATION II

I hope you enjoy. Thank you.